

Hello there!
My name is Alvaro Claver and the following making of is for APEX the robot.
For this piece, that I did at Think Tank Training Centre for my demo reel, I was responsible for all the process from modeling to look dev. I would like to start thanking my mentor Justin Holt, as his advice and guidance couldn’t have been more inspiring and helpful, and my mentorship friends Rodrigo Borges, Andrew Chang and Renato Scicchitano for throwing light on me during the long hours on the workstation. I can't forget to mention Paul H. Paulino too for the laughs and for inspiring me as only he know how to. It’s great to have a school like Think Tank with this good vibe and that can provide you with such talented teachers and mentors, so huge kudos and thanks to Scott Thompson, Joseph Bullock and Lauren Littleton for all the guidance, support and for granting me with this once in a lifetime experience.
The following is the process I went through:
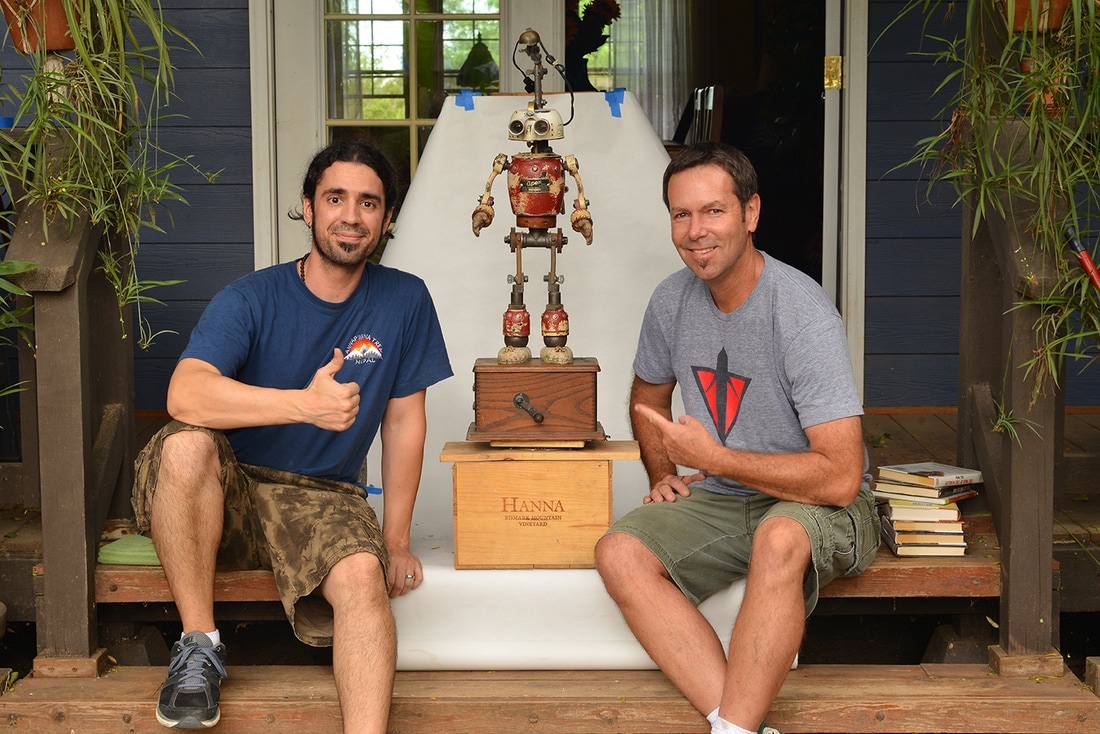
Photo: me (left) with Dan (right)
Concept
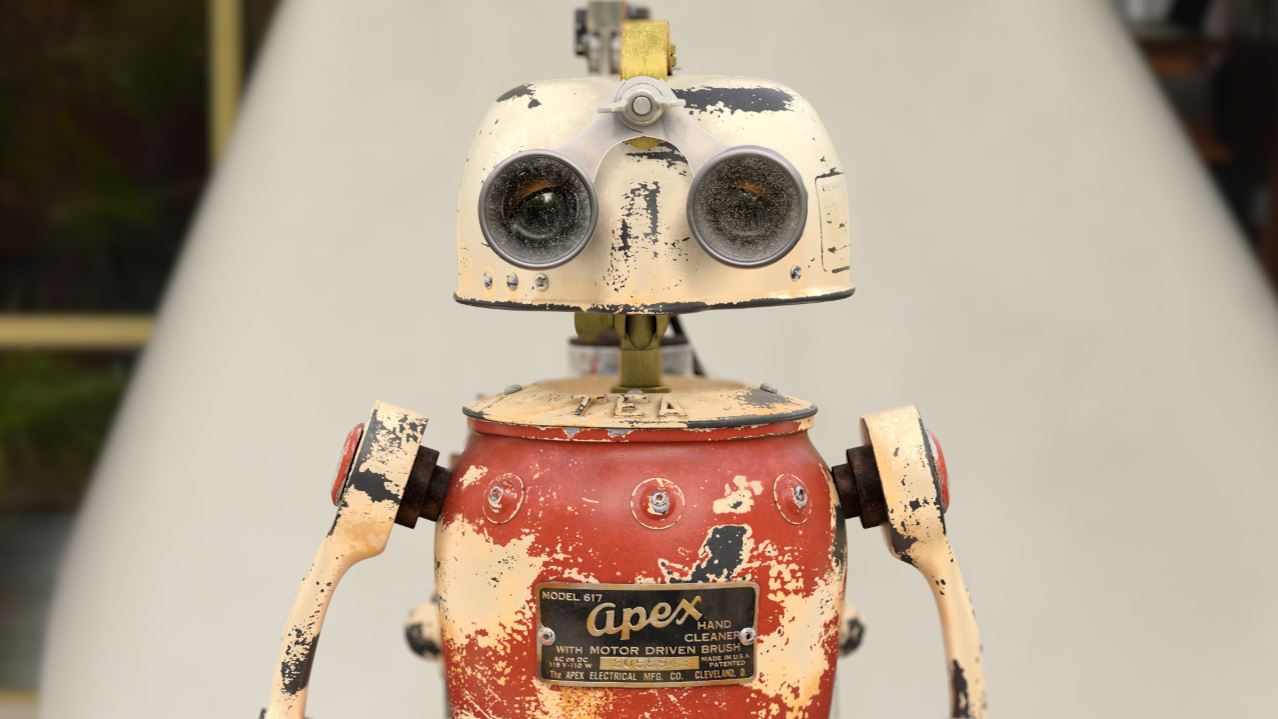
For the last year I have been specializing in texturing and modeling but I also have a good grasp of the whole production pipeline including lighting and rendering. The story starts with me contacting Dan Jones, the artist who did the original sculpture, and asking if I could recreate digitally one of his robots called "Apex" to include it in my demo. It turned out he was really excited about this collaboration so I flew to California to personally meet him and to take photos and videos of the original piece in order to use them as reference. What a great experience I had! Not only I got to involve myself personally into a collaboration project like this but I also made a new lifetime friend.
For the last year I have been specializing in texturing and modeling but I also have a good grasp of the whole production pipeline including lighting and rendering. The story starts with me contacting Dan Jones, the artist who did the original sculpture, and asking if I could recreate digitally one of his robots called "Apex" to include it in my demo. It turned out he was really excited about this collaboration so I flew to California to personally meet him and to take photos and videos of the original piece in order to use them as reference. What a great experience I had! Not only I got to involve myself personally into a collaboration project like this but I also made a new lifetime friend.
References
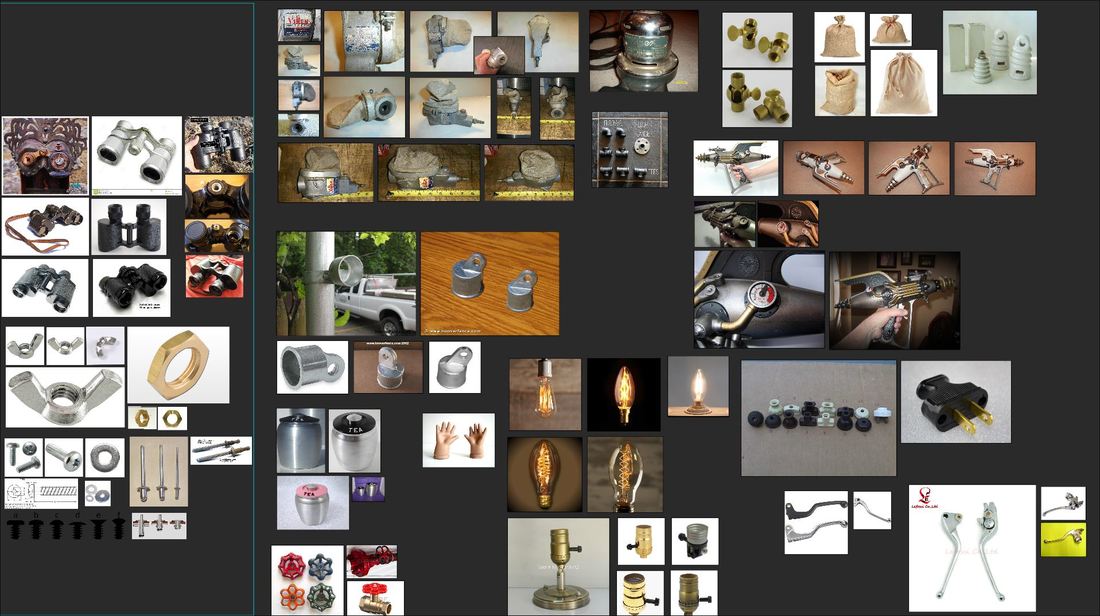
I was lucky to be able to take photos and shoot video from the original, which is a luxury you don’t usually have when working in a big production. Having worked as a photographer and cameraman for many years came in very handy for this part of the process as I was able to achieve the highest quality possible during the photo shooting using my own camera equipment. I already knew that I needed the photos in order to create masks for projecting detail in Mari, so focusing and choosing the right lens was extremely critical. I also gathered references for the different materials and parts to study them separately.
I was lucky to be able to take photos and shoot video from the original, which is a luxury you don’t usually have when working in a big production. Having worked as a photographer and cameraman for many years came in very handy for this part of the process as I was able to achieve the highest quality possible during the photo shooting using my own camera equipment. I already knew that I needed the photos in order to create masks for projecting detail in Mari, so focusing and choosing the right lens was extremely critical. I also gathered references for the different materials and parts to study them separately.

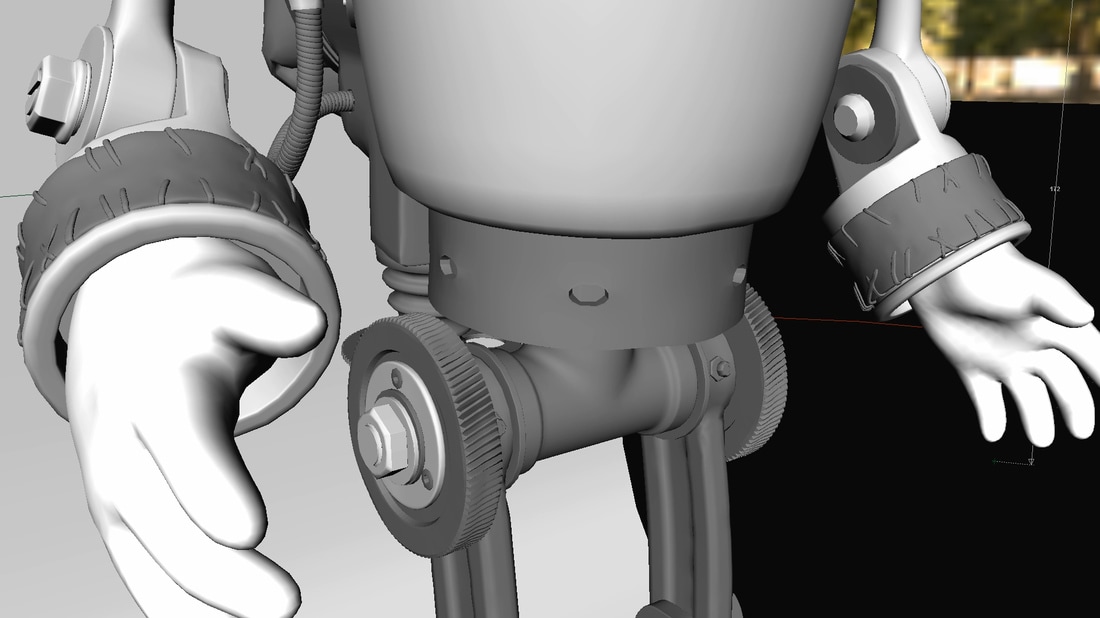
Modeling.
Now with all the cards on the table I was able to start modeling the robot. This part was pretty much straightforward and enjoyable, trying to make sense of topology in every moment and keeping an eye on the volumes and shapes. Every mesh must hold the shape when subdivided and do not change much or otherwise the textures will stretch later on and that could be very annoying to correct, having to go back a couple of steps.
Now with all the cards on the table I was able to start modeling the robot. This part was pretty much straightforward and enjoyable, trying to make sense of topology in every moment and keeping an eye on the volumes and shapes. Every mesh must hold the shape when subdivided and do not change much or otherwise the textures will stretch later on and that could be very annoying to correct, having to go back a couple of steps.
UV unwrapping.
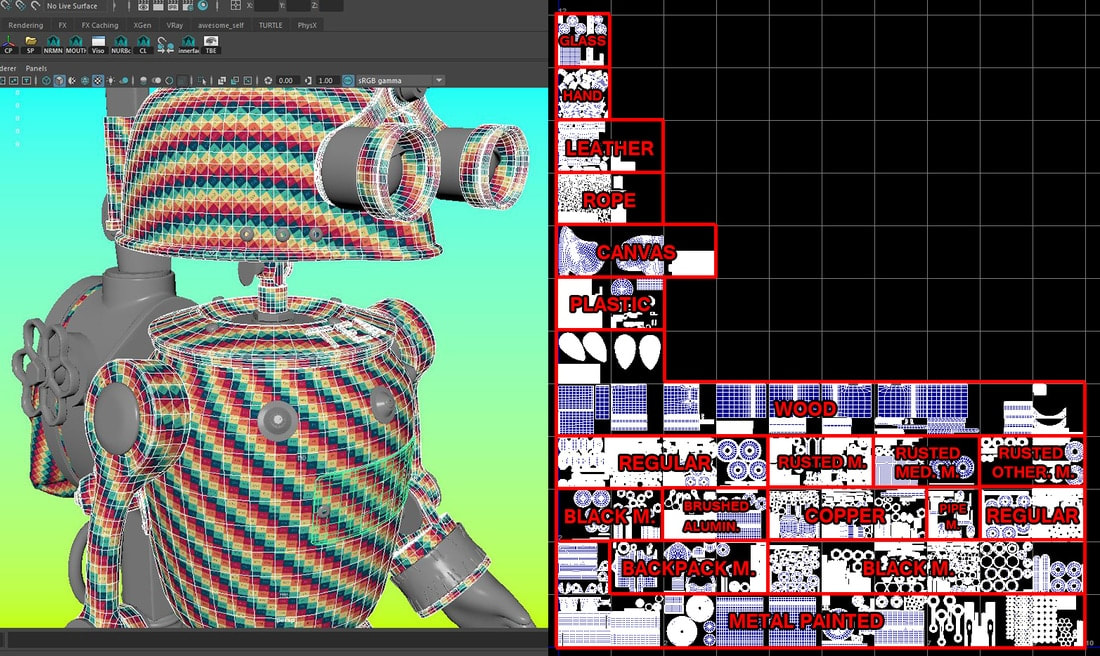
Here is when you grab a cup of tea (no, beer doesn't make you more productive) listen to your favourite music with a good pair of headphones and unwrap your model. I kind of like it as most of it is mechanical work. It takes some time but it’s a crucial step for preparing the mesh for texturing. There are many things to consider like how much resolution will you need depending on the size on screen, proportion consistency among meshes and the orientation in the UV space. In my case I distributed the UVs across 63 udim tiles, ordering them in rows by material. A quick tip: if you double the resolution for the small metal pieces like bolts and nuts the textures will look more crisp and realistic in the final render.
Here is when you grab a cup of tea (no, beer doesn't make you more productive) listen to your favourite music with a good pair of headphones and unwrap your model. I kind of like it as most of it is mechanical work. It takes some time but it’s a crucial step for preparing the mesh for texturing. There are many things to consider like how much resolution will you need depending on the size on screen, proportion consistency among meshes and the orientation in the UV space. In my case I distributed the UVs across 63 udim tiles, ordering them in rows by material. A quick tip: if you double the resolution for the small metal pieces like bolts and nuts the textures will look more crisp and realistic in the final render.
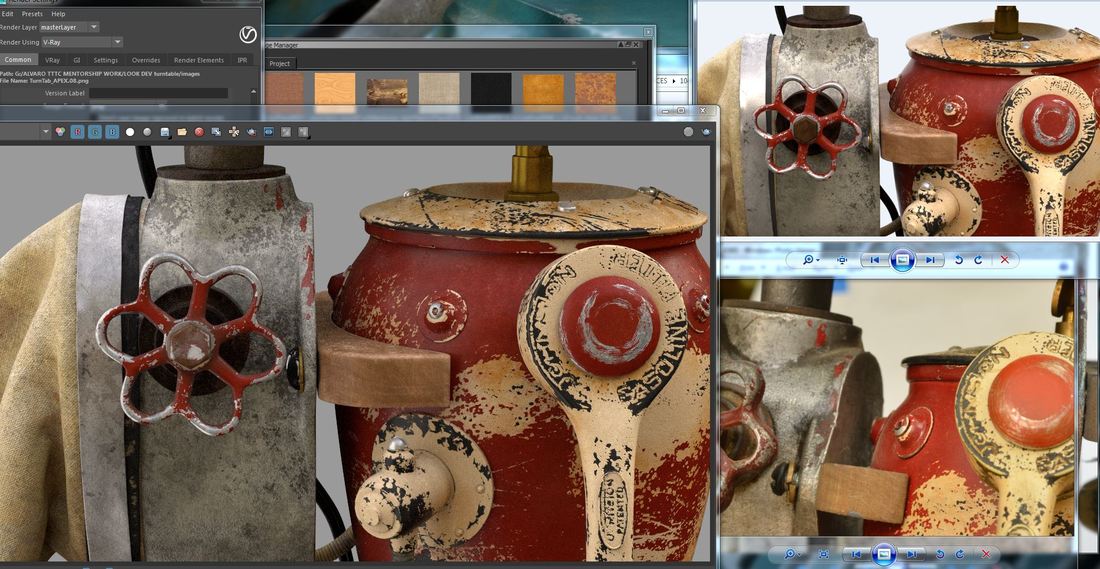
Texturing
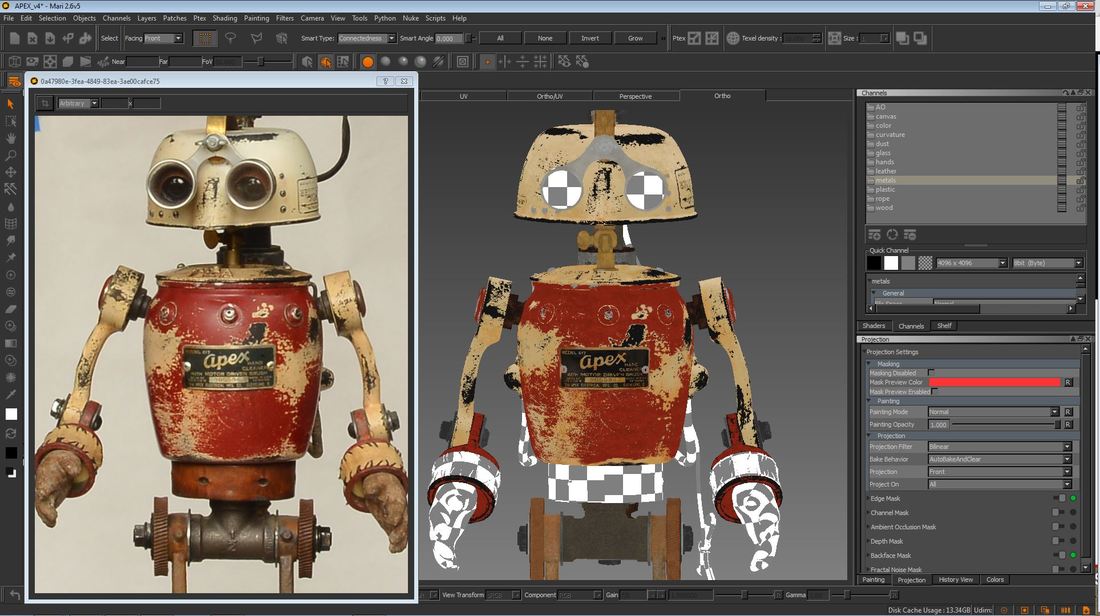
Now my favorite part of the whole process. I used Mari as it’s the most widely used software in the movie industry for texturing, plus it works like magic and allows me to work in an organized and non destructive way. My workflow involved creating multiple channels for every material including diffuse, specular, glossiness, bump and displacement. Some of the objects in the scene, like the main body piece, has 4 different layers: an aluminium base, a black patina on top and then two more paint layers, cream and red. I had to plan in advance for this and create several masks in Photoshop from the photos I took.
Now my favorite part of the whole process. I used Mari as it’s the most widely used software in the movie industry for texturing, plus it works like magic and allows me to work in an organized and non destructive way. My workflow involved creating multiple channels for every material including diffuse, specular, glossiness, bump and displacement. Some of the objects in the scene, like the main body piece, has 4 different layers: an aluminium base, a black patina on top and then two more paint layers, cream and red. I had to plan in advance for this and create several masks in Photoshop from the photos I took.
Shading
My render of choice was v-ray, so for the shaders I used simple and blend v-ray materials to plug my maps into them. I have metals, wood and then plastic, fabric, glass and variations of them. For lighting I used an HDR very similar to the place where I took the photos and a couple more of area lights pointed to some parts to highlight them. I also created a white backdrop to bounce light on the back of the figure as I used one when I took the photos in San Diego.
My render of choice was v-ray, so for the shaders I used simple and blend v-ray materials to plug my maps into them. I have metals, wood and then plastic, fabric, glass and variations of them. For lighting I used an HDR very similar to the place where I took the photos and a couple more of area lights pointed to some parts to highlight them. I also created a white backdrop to bounce light on the back of the figure as I used one when I took the photos in San Diego.
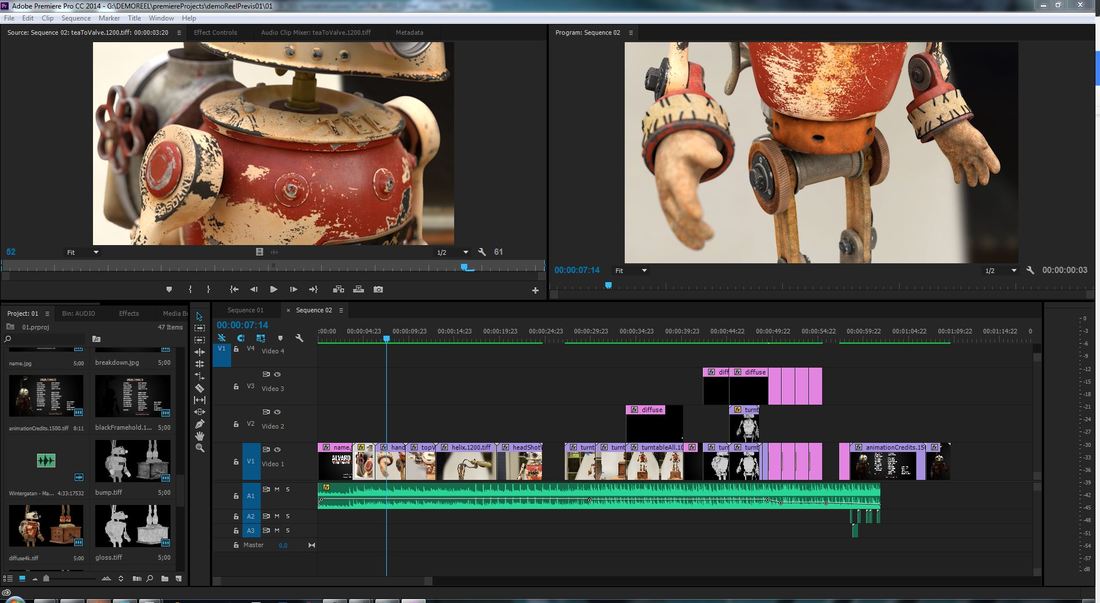
Previs: planning the final composition
In order to create the video for my reel I needed to render many frames. That comes at a cost, so before expending that much time rendering I created playblasts with cameras in the Maya scene, exported them and edited a first rough cut with Adobe Premiere looking at framing, timing, rhythm and duration. I already had a couple of music pieces selected so I used the one that fitted the best.
In order to create the video for my reel I needed to render many frames. That comes at a cost, so before expending that much time rendering I created playblasts with cameras in the Maya scene, exported them and edited a first rough cut with Adobe Premiere looking at framing, timing, rhythm and duration. I already had a couple of music pieces selected so I used the one that fitted the best.
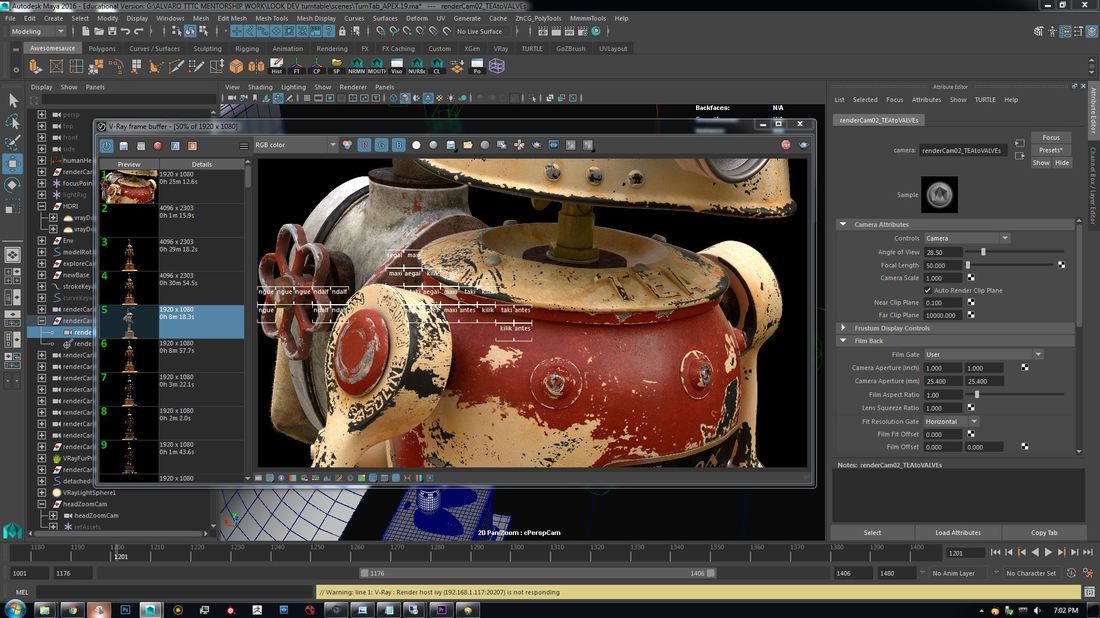
Rendering
Vray can be very tricky to set up but it’s worth the effort. As mentioned before and to get the light reflected from the backdrop into the back of the robot I needed to use GI. For this it came very handy to cache a flythrough GI pass on the very first frame of each camera and then load it for the rest. It worked like a charm! For the image sampler I went with adaptive and kept an eye specially on the subdivs threshold. I used distributed rendering to lower my render times, having this way more than 20 active cores and lowering my render times from 40 to 10 minutes per frame.
Vray can be very tricky to set up but it’s worth the effort. As mentioned before and to get the light reflected from the backdrop into the back of the robot I needed to use GI. For this it came very handy to cache a flythrough GI pass on the very first frame of each camera and then load it for the rest. It worked like a charm! For the image sampler I went with adaptive and kept an eye specially on the subdivs threshold. I used distributed rendering to lower my render times, having this way more than 20 active cores and lowering my render times from 40 to 10 minutes per frame.
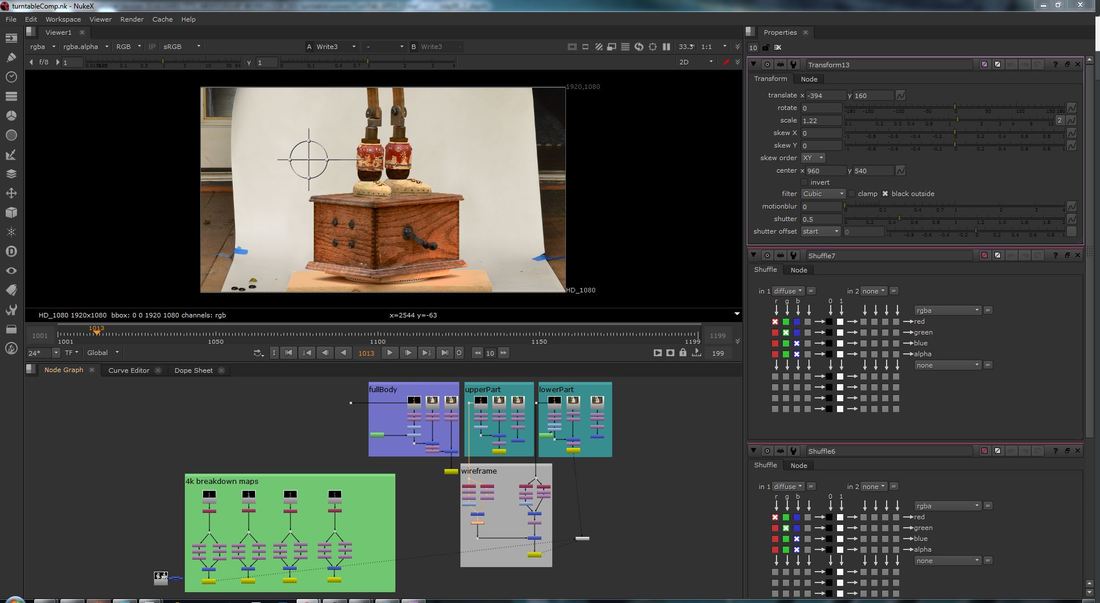
Comp
Once all the renders were finished it was time to comp all the passes in Nuke. A slight color adjustment, defocus and a background did the trick perfectly. Due to the distributed rendering some frames had random artifacts, but nothing I couldn’t take care of with some roto painting.
Once all the renders were finished it was time to comp all the passes in Nuke. A slight color adjustment, defocus and a background did the trick perfectly. Due to the distributed rendering some frames had random artifacts, but nothing I couldn’t take care of with some roto painting.
Editing
A final edit was made in Premiere with all the final renders from Nuke. I added titles and a little animation at the end next to the credits. It was so nice to see APEX come to life!
A final edit was made in Premiere with all the final renders from Nuke. I added titles and a little animation at the end next to the credits. It was so nice to see APEX come to life!
Final thoughts
Learning more software, reading manuals, managing your time and troubleshooting constantly? Oh yeah, bring it on! Because it’s when we struggle when we get out the best of us and grow. Having incredible friends and colleagues around makes a huge impact on how you deal with the long hours in front of the computer, and I couldn’t be happier because of that.
I hope you enjoyed this making of. Thank you for going through and for reading it!
And, if you liked the article, please share it on your favorite social media ;)
Alvaro